On the first day of school, I tell my students that I don't have a seating chart in my classroom; they can sit wherever they want... UNTIL they make it necessary for me to assign them seats! If they want to sit next to their friends, that's fine, as long as they aren't distracted or distracting and NOBODY is allowed to kick anybody out of "their" seat.
This works pretty well for the first several weeks of school, then one by one, most of my classes descend into knuckleheadedness and I need to assign seats. This can lead to a lot of moaning, complaining and convenient forgetfullness. ("Oh... I was supposed to sit over HERE??? I totally forgot!!")
For me, the solution to this, as in most things, is PowerPoint.
On the morning when I assign seats, I have the students line up against the back wall of the classroom with their books, turn out the lights and show them a Spectacular Seating Chart PowerPoint!!
Each student's picture appears on screen with some sort of amusing sound effect. The student in question blushes, while everyone else has a good-natured laugh at their expense, then the PowerPoint indicates where they should sit. After all the students have taken their new seats, I re-emphasize that assigned seats are a management tool and not personal. The students usually take it pretty well.
Interestingly enough, because our classrooms have thin walls, 8th Graders in other classrooms hear the funny sound effects and laughter from my room and when then get to my class, they usually want to see the other class' seating chart. Often, they are so amused that they ask for a seating chart of their own.
Well, that's how it's worked for me, anyway.
Here is how I build a Seating Chart PowerPoint:
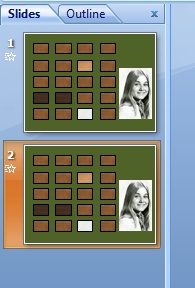
(Click on any of the pictures for a more detailed view.)
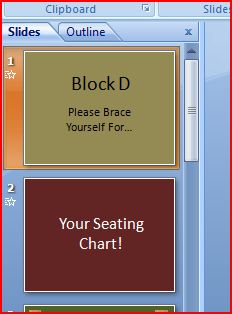
In this case, I've used the Theme from 2001 for Slide 1. I've followed this up with the theme from the Dick van Dyke Show for Slide 2.
This is all optional, of course.

I don't know about you, but it really bugs me when I start a new slide in PowerPoint and the template for a title and a subtitle automatically pops up. I make a point of selecting the "Blank Slide" setting under the "Layout" menu.
Then I pick a background color.
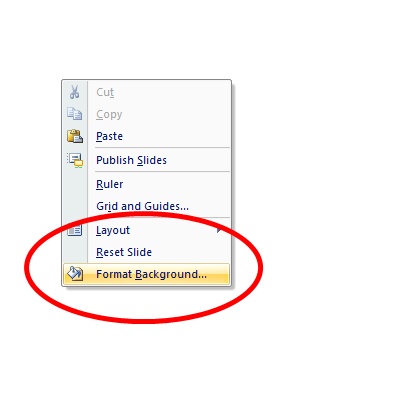
I do this by right-clicking the slide and choosing the "Format Background" option.
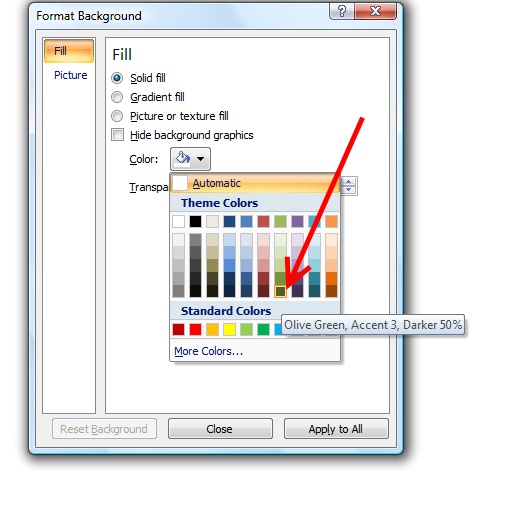
I generally pick a bland color for the background - something classy, but non-distracting. I like an dull olive-green: it feels kind-of calm and pool-table-y.
That's just a personal choice, of course.

Step #2 - Making Desks
From the Shapes menu, select a rectangle and draw the basic outline of a desk.
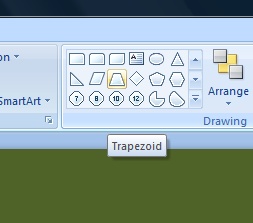
If the desks in your room aren't actually rectangular, other shapes are available.
My students actually sit at trapezoidenal tables, but for the purpose of this explanation, I'm going to use demonstrate a seating chart for a classic, 20 desk classroom.
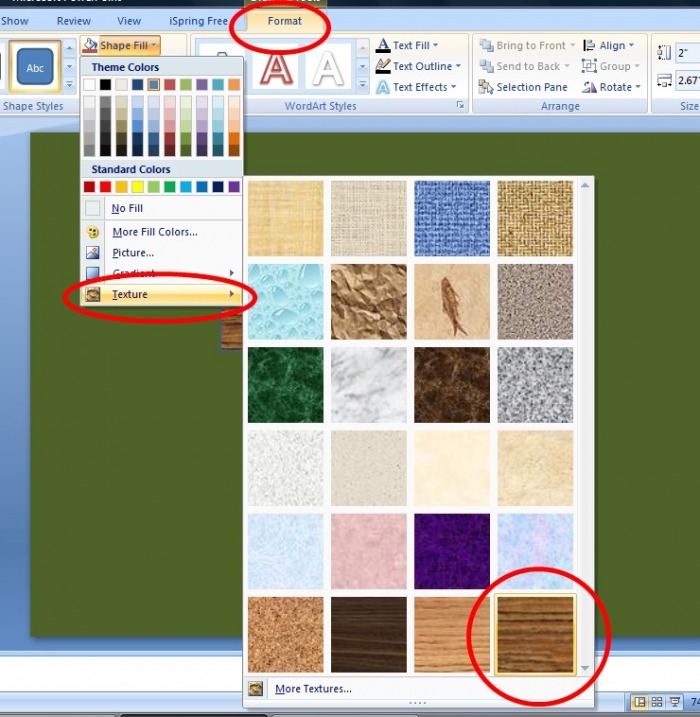
Click on the desk you've just drawn and choose, "Format", "Shape Fill" and "Texture". This will provide you with several options, a couple of which will more-or-less approximate the general appearance of the desks in your room.
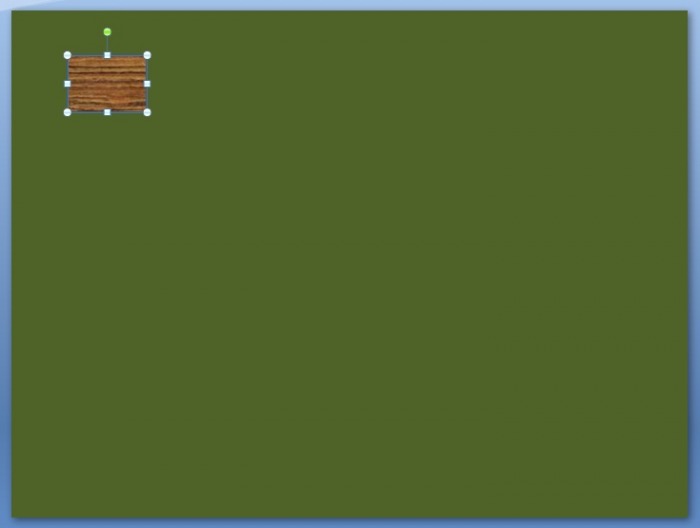
Resize your desk by clicking and dragging on on of the circles on the corners of the shape, then drag the desk to where its real-world counterpart is in your classroom.
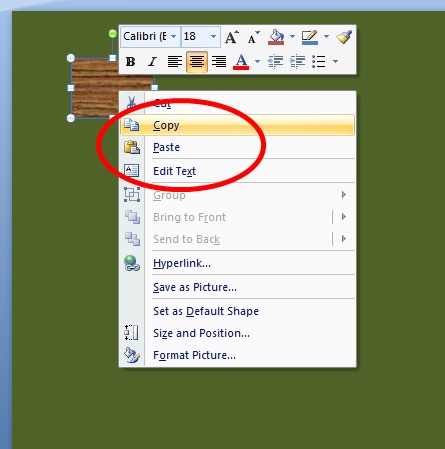
Now, to make your life easier, right-click your desk, select "Copy" from the menu and "Paste" in an exact duplicate.

Keep doing this until you've got a row of desks. If you don't trust your ability to do this by eye, insert a line to guide you, then remove it once you've got the desks placed.

Now, select your row of desks and do the same thing all over again:
Copy...
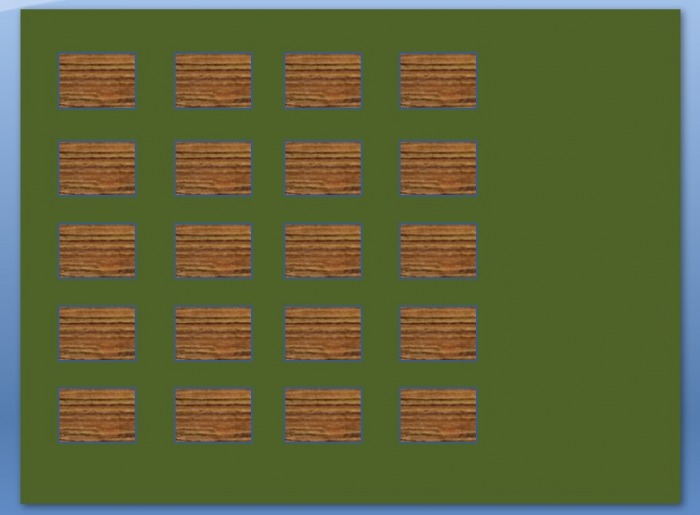
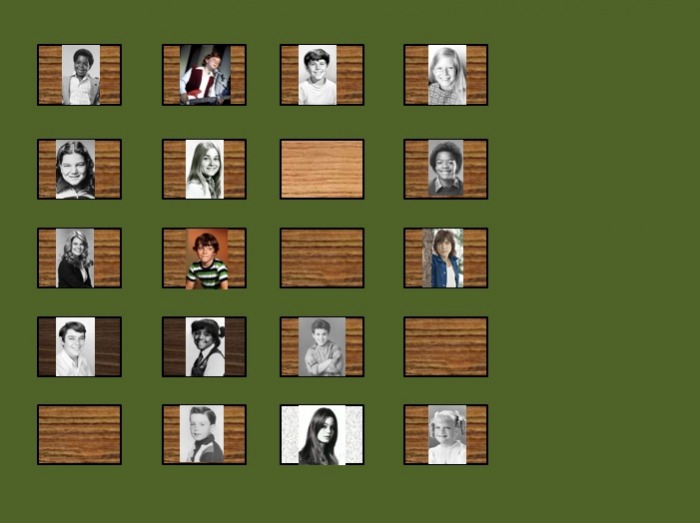
... and Paste, until you have all the desks placed into a reasonable representation of your classroom.
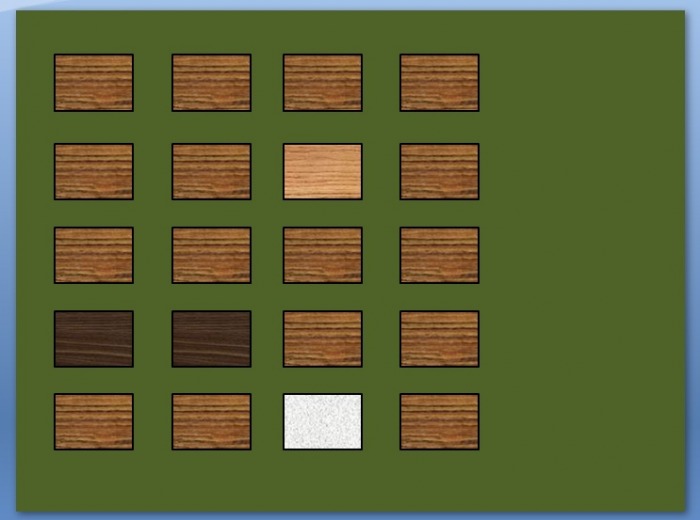
If the desks in your classroom are as mismatched as the ones in mine, you might want to change the textures in a few of them to reflect your actual state of affairs.
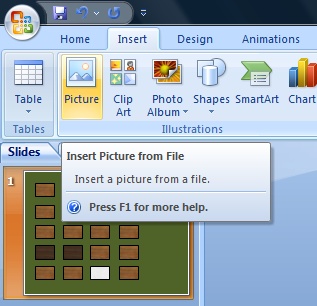
Step #3 - Inserting Students
Now, insert a picture of a student. You've probably left enough blank space in some part of the slide to fit a good-sized photo. (You wouldn't BELIEVE how long it took me to figure THAT out!)
I generally use the students' ID pictures. I go on the school's server and find the pictures. (In a different place every year!)
It would be a pretty straight-forward process to take pictures of the kids yourself - or better yet, have them take pictures of each other. There are always students who don't like to have their pictures taken, but I've found that if I give a camera to a couple of competing "alpha-girls", they manage to get really good pictures of everyone. Almost any boy will let a cute girl take his picture and the weird, intensely complicated rules of girl politics will allow the photographer girls to shoot other girls, particularly if there are competing social cliques at play.
(Hey - I don't claim to understand it; I just try to harness it for Good instead of Evil...)
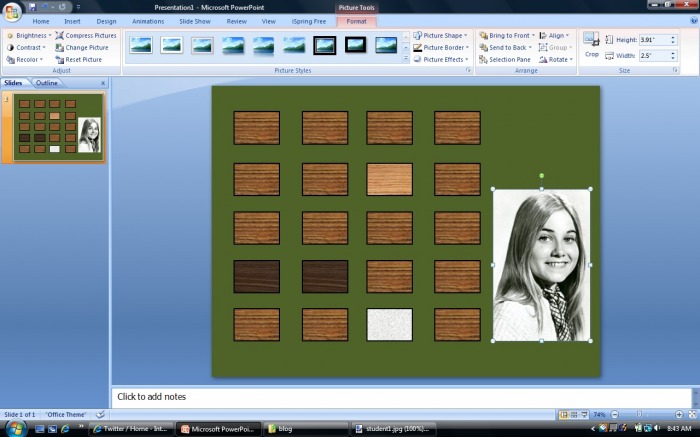
To protect my students' privacy, I'm using a picture of Marsha Brady here.

This next step is the closest we're going to get to anything tricky (but it's really not very tricky at all):
Go to the "Animation" menu and select "Custom Animation". This will bring up a sidebar that allows you to select different visual and sound effects.
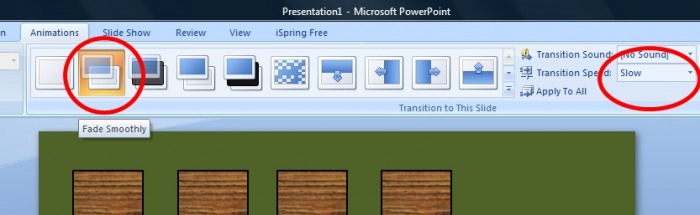
Select your student's picture, then, on the Custom Animation menu, select "Add Effects", "Entrance" and whatever effect you want to use to bring the picture up when you show this slideshow. You could have it fly in or unfold in sections like a window shade, but my favorite effect for this sort of thing is a simple, "Fade".
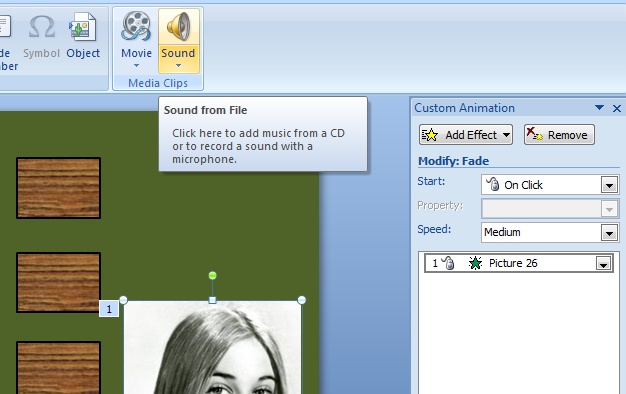
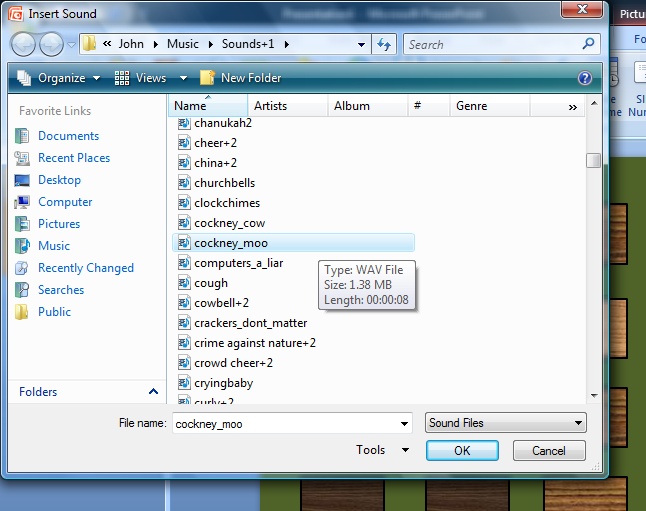
I've collected quite a few soundclips over time to use for this sort of thing. They are all saved as .wav files. I try to find some sound effect that is either very much in line with a student's personality or very much NOT in line.
Thus, all the hilarity.
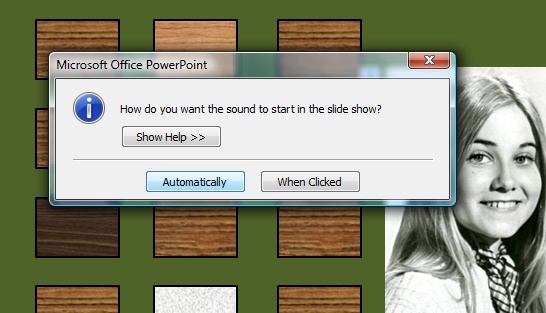
Choose "Automatically".
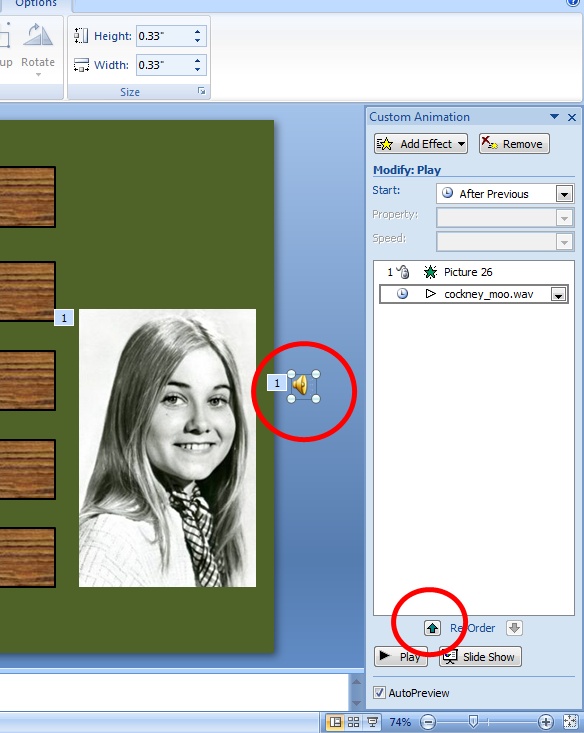
I generally drag the little loudspeaker icon off to the side of the slide. That way, I always know where it is and it won't clutter up the look of the slide.
Now, select the sound effect on your Custom Animation taskbar and use the "Reorder" command to move it to the top of the list.
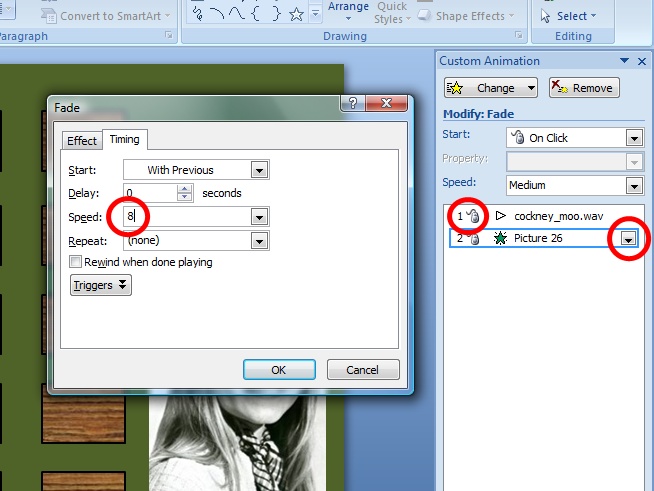
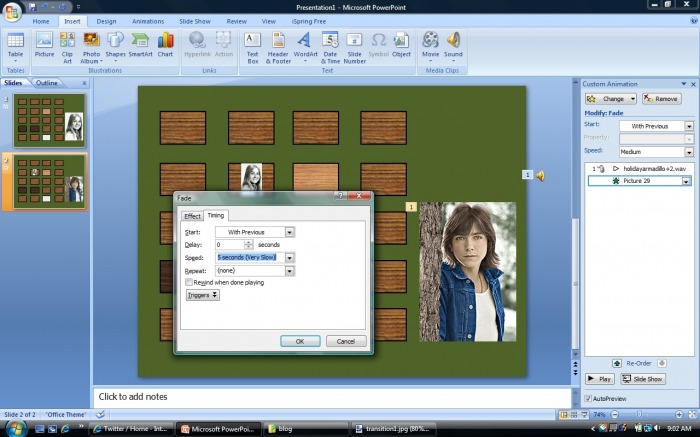
Next, change the properties of the picture's animation. There is a little menu arrow to the right of it on your Custom Animation menu. If you click on that arrow, a whole new menu will pop up.
Select "Timing", then "Start - With Previous". This will make sure that the sound and the picture animation will run simultaniously.
Then select your speed. You will have several options, like "Fast", "Extra Fast", "Warp Speed" - that sort of thing - but you can also type in an actual number of seconds that you want it to take for your picture to appear. If you type in the same amount of time as the length of your sound clip, they will synch perfectly.

If you look on the left-hand side of your screen, you will see a menu with all the slides you've made so far in this presentation. Select the slide you've just created and copy it.
You can do this by clicking it and dragging it. PowerPoint will ask if you want to move it or copy it. Select "Copy".
Depending on what version of PowerPoint you have, there may also be a command under the "Insert" menu, called "Insert Duplicate Slide". That will work well, too.
Now, you have two identical slides.
(Which, I suppose, is sort of the point...)

Now, remove her sound effect and her animation. Those effects will still be in place on the first slide, but you don't want them here.
Basically, this means that when you run the slideshow, you will start with an empty set of desks, you will advance to show your first student appearing with an amusing sound effect. (In this case, Marsha Brady appearing with a cow mooing with a Cockney accent.)
Then, when you advance again, the slide with the big picture will fade smoothly into one where Little Marsha is sitting happily (and if you ask me, a little smugly) in her seat.
Because you will copy each new slide in order to make the next one, all your cumulative changes will come with you and the little pictures of the students will stay in exactly the right spots.
This is EXTRA cool, because you can print off a copy of this final slide and put it in your sub folder, so that when you are out sick or at a conference, your substitute teacher will have a visual layout of who sits where and even if the students give her fake names, she will still know where they sit.
This year, one of my classes managed to get through the whole year without a seating chart. They were a little disappointed about that, so on the last day of classes, I gave them a seating chart PowerPoint. (I seated them in the same places they'd been sitting at on their own all year.)

 RSS Feed